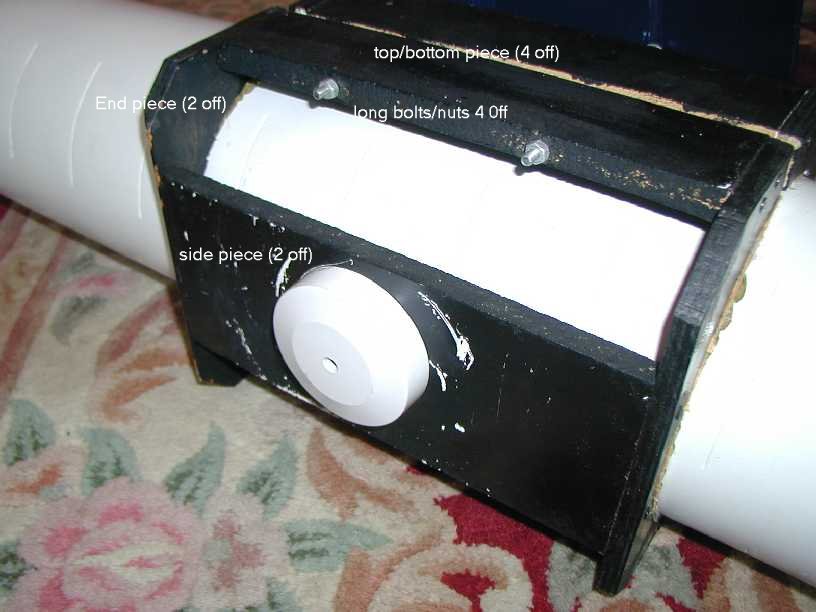
2 off large pieces of wood for End pieces-make sure they are wider than tube diameter by at least an inch on sides and 2-3 inches top and bottom. Draw a circle (CRITICAL DIMENSION) in the middle-make it wide enough to cater for the gripping/cushioning material you are using-drill a hole on the inner edge of one of the circles big enough for a jigsaw blade-then saw out circles-it is important that circles on both end pieces align closely-or you end up with a scope skewed out of line when assembled in base-refer to pix above-sketch out details yourself before cutting anything to ensure you know that what you intend to do will work!-cut each end piece in half down centreline-now each end piece is in 2 parts!-check they fit snugly round tube-if not-plane down parts you sawed to get split to increase gap-glue on felt at tube contact surfaces.
2 off pieces of wood for side pieces-these will eventually hold the bearings for mounting scope assembly on the base. make sure they are exactly the same size.
2 off top & 2 off bottom pieces-same length as side pieces-make them half the width-you will have to drill right through the sides in two places to take the long bolts for tightening the cage around the tube, I ended up using same dimensions as side pieces, drilling holes through the edges with a long drill (alignment is important) and then splitting the piece down the middle to end up with 2 parts with perfectly aligned holes.
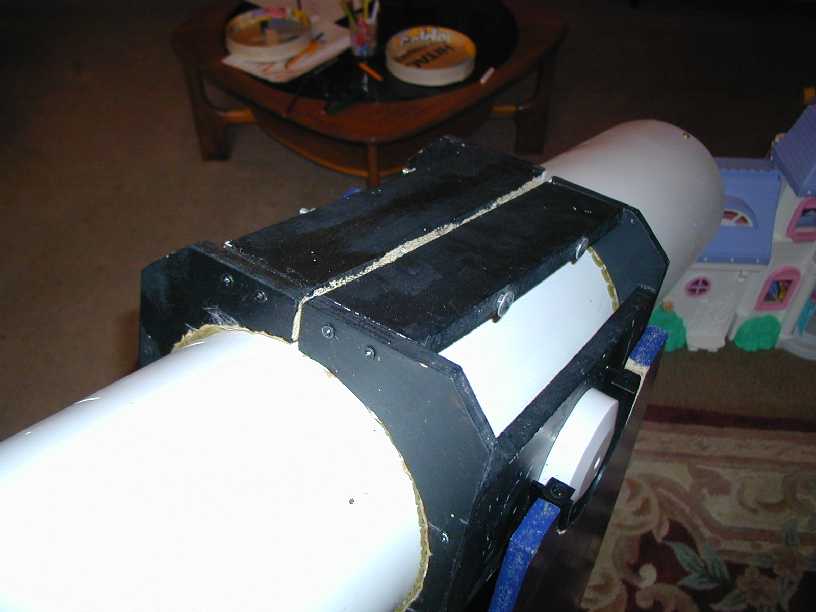
Before finally assembling all the pieces-line them up, mark them up and pre drill before inserting screws to prevent splitting of materials, its also worthwhile applying glue to all contact surfaces.